The Backyard
Putting Green
The most-loved project in home golf, from a $79 roll-out mat to a contoured landscape build. What each tier really costs, how the DIY version actually goes, and the mistakes that ruin greens.
A backyard putting green comes in three tiers: roll-out mats ($50 to $250, works tonight), DIY synthetic turf ($500 to $2,500, one honest weekend), and professional installs ($3,000 to $15,000+, built like landscaping). Synthetic turf avoids the mowing, irrigation, aeration, and disease-management work of a living green. Start with a mat, and if you use it consistently, that gives you useful evidence before committing to a permanent build.
Your Three Options
| Roll-Out Mat | DIY Synthetic Green | Pro Install | |
|---|---|---|---|
| Cost | $50–$250 | $500–$2,500 | $3,000–$15,000+ |
| Time to first putt | Tonight | One weekend | 2–5 days of crew work |
| Where it lives | Deck, patio, indoors | Flat section of yard | Anywhere (they shape it) |
| Contours / breaks | ✗ Flat only | Subtle at best | ✓ Designed breaks |
| Renter-friendly | ✓ Packs away | ✗ Semi-permanent | ✗ Permanent |
| Best for | Testing the habit | Committed putters | The forever house |
My honest advice is to treat these as a ladder, not a menu. Almost everyone should start with a mat, because the mat answers the only question that matters: will you actually practice? A PUTT-A-BOUT Par Three (check current price) or a WELLPUTT mat ($89.00†) costs less than a dozen premium balls, and if it gathers dust you've saved yourself a $5,000 landscaping lesson. Our putting mat rankings cover the full field.
If the mat gets daily use, the DIY turf green is the sweet spot of the whole category: real outdoor practice, true roll in any weather, and a build most homeowners genuinely can do in a weekend. The pro install is for contoured, multi-hole greens that double as landscape design, and it's priced accordingly, by square footage and shaping.
What a Backyard Putting Green Costs
| Green Size (DIY) | Turf + Cups | Base Materials | Realistic Total |
|---|---|---|---|
| 6 x 10 ft starter | $250–$450 | $150–$300 | ~$500–$800 |
| 10 x 15 ft standard | $500–$900 | $300–$500 | ~$900–$1,500 |
| 12 x 20 ft showpiece | $800–$1,400 | $450–$700 | ~$1,400–$2,500 |
Those DIY numbers assume quality putting-specific turf, crushed stone base material, a compactor rental (about $100 a day), cups, and edging. Professional installs typically get quoted per square foot, and published installer pricing generally lands in the $20 to $40 per square foot range depending on region, shaping, and turf grade, which is how a 300-square-foot contoured green reaches five figures.
The DIY Build, Step by Step
The DIY green is a base project wearing a golf costume. The turf is the easy part; the flat, compacted base under it is what decides whether your green rolls true or grows lumps by fall. Here's the weekend, honestly described:
1. Mark and excavate (Saturday morning). Outline the shape with paint or a hose, then dig out 3 to 4 inches of soil across the whole footprint. This is the sweat-equity portion. Slight overall slope is fine (greens drain better for it), lumps are not.
2. Build the base (Saturday afternoon). Lay 2 to 3 inches of crushed stone or decomposed granite, screed it flat, mist it, and compact it hard with a rented plate compactor. Then do it again. The base should feel like a sidewalk, not a gravel path. Set your cups now, anchored so their rims sit flush with the finished surface.
3. Lay and trim the turf (Sunday morning). Roll the putting turf out, let it relax an hour in the sun, then trim to your outline with a sharp utility knife. Cut around the cups, seam sections with turf tape if your green needs more than one roll, and secure the perimeter with landscape spikes or edging.
4. Dress and roll (Sunday afternoon). Most putting turf wants a light infill of kiln-dried sand brushed in with a stiff broom; it settles the fibers and tunes the speed. Then roll putts from everywhere and enjoy the smugness. It's earned.
Add a fringe collar of longer turf around the green if the budget allows. It frames the green visually and gives you a lie for chipping, which quietly doubles what the green is for; pair it with a chipping net behind the far cup and you've built a short-game facility, not just a green.
Choosing the Turf (Where Greens Are Won)
Putting turf comes in two main fibers. Nylon is the premium choice: stiffer fibers that hold a true roll without much infill, closer to a real green's feel, and more expensive. Polypropylene is softer and cheaper, relies on sand infill for its roll, and putts a touch slower; it's the sensible pick for bigger budgets-per-square-foot math. Both massively outperform generic lawn turf.
Two spec-sheet items worth checking before you buy. First, look for turf sold specifically for putting with a stimp rating (most quality options land in the 9 to 12 range, which brackets everything from a muni to a fast club green). Second, check the pile height: putting surfaces run short, roughly half an inch or under, and anything taller is fringe material, not green material.
One thing I'd skip: real grass. A living bentgrass green needs daily mowing at putting height with a specialty reel mower, plus fungicide, aeration, and irrigation. Golf courses employ people for this. Unless maintaining a green IS the hobby, synthetic is the version that still gets used in year three.
Size & Placement
Useful starts smaller than people think. A 6 by 10 foot green covers the putts that matter most (three to eight feet, the make-or-miss range that decides scores). A 10 by 15 foot green adds lag putting and multiple cups so practice stays interesting. Beyond that you're buying variety and looks, which is a fine thing to buy, but the strokes live inside ten feet.
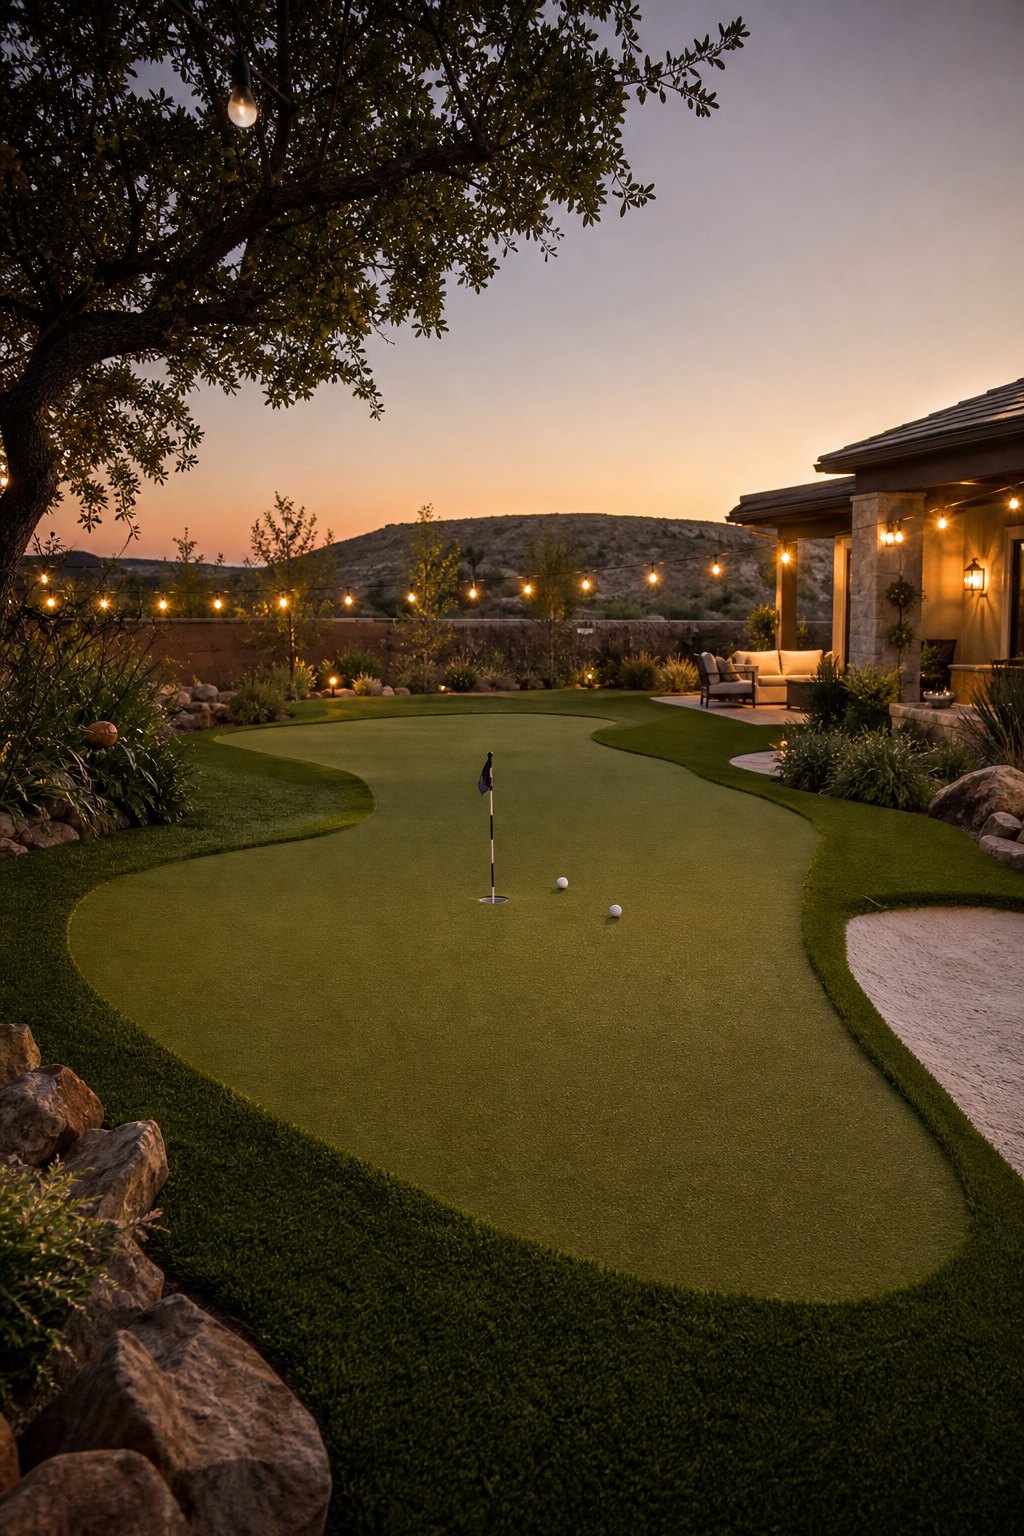
Placement advice I'll die on: put it where you walk past it every day. A modest green by the back door out-practices a showpiece in the far corner every single time, because ten spare minutes only turns into putting practice when the green is already underfoot. Mostly-level ground saves excavation labor, a bit of afternoon shade extends comfortable use in summer, and if evening is your window, a couple of landscape lights turn the green into the after-dinner destination.
Maintenance (There's Barely Any)
This is the payoff for going synthetic. The whole calendar: blow or brush off leaves and debris as needed, give the fibers a stiff-broom cross-brush every month or two to keep them standing, top up the sand infill about once a year, and rinse the occasional bird's opinion off with a hose. Snow can sit on it all winter; it putts again the week it melts.
Watch the seams and edges each spring, since a lifted seam is the one repair worth doing immediately (turf tape and adhesive, ten minutes) before feet and weather widen it. That's the entire job list. Compare that to a lawn, never mind a bentgrass green, and the green starts to look like the lowest-maintenance thing in the yard.
FAQ
Get Better Golf-Gear Research in Your Inbox
New comparison guides, product updates, and practical simulator-planning research. No daily deal spam. Free bonus: the golf distance cheat sheet, instantly.